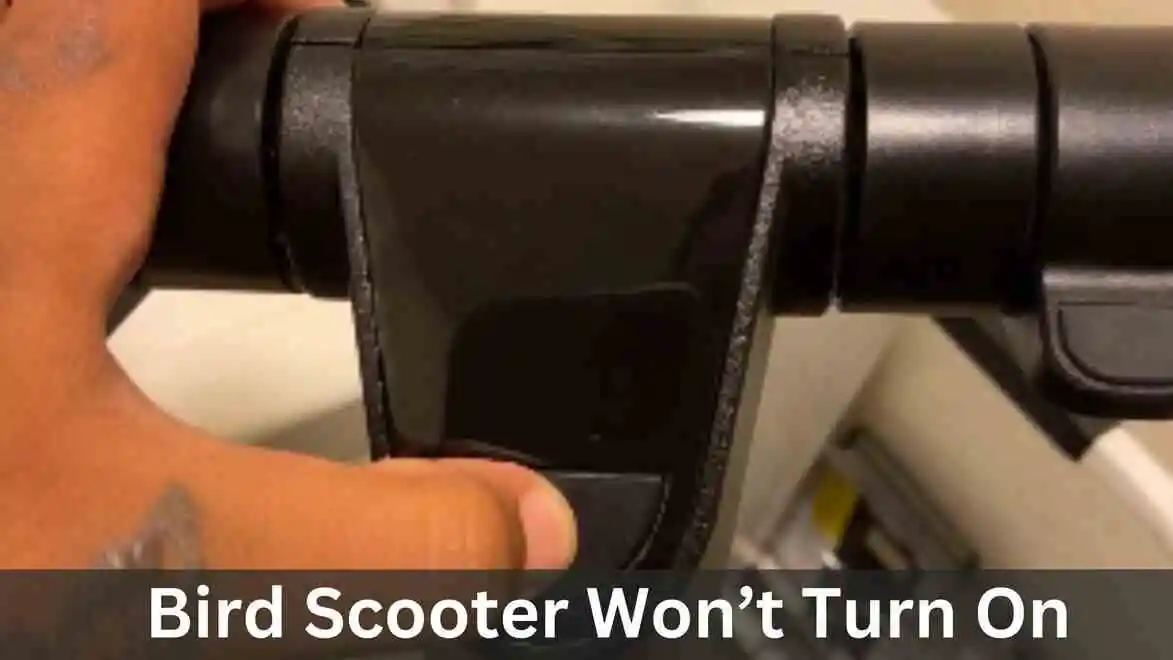
Electric scooters have become a popular and convenient mode of transportation, but like any electronic device, they can encounter issues. One common problem users face is the scooter making sounds during startup but failed as seen in bird air scooter won’t turn on.
In this article, we will explore the potential causes behind bird scooter not turning on and provide simple yet effective solutions.
First Things To Know:
Early Problems: If you have just bought your bird scooter you face problem with it, like won’t turn on then it is recommended to go for a refund, you will understand why we are recommending this when you will read about the causes mentioned below,
To qualify for a refund, the product must be sent back within 30 days from the initial purchase, with a 10% restocking fee applicable. Additionally, the item should have accumulated fewer than 20 miles on the odometer and must be returned in its original packaging, unassembled. Other wise you can claim warranty for bird (The warranty warries from 1 year to 2 year depending on model and also on parts of bird scooter)
Lifespan: The lifespan of bird scooters varies from 1 year to 1.6 months depending on the model. Also the lifespan decreases when you use them on hills (It is recommended to only buy scooters compatible with hilly terrain). The lifespan for different scooter parts is mentions below.
Where the problem lies? It is seen in bird scooter that it only turns on when the charger is plugged in and when you take the charger off its display won’t show anything. In this case there can be only two causes (Nothing else)
First problem with the battery and second problem with the controller. We will see fixes for these in detail below. However some might say check the connections, this won’t be the the cause and if there are faulty or loose connections the bird won’t turn on even when charger is plugged in.
However if bird won’t turn on when even when plugged in then there can be a lot of causes.
Bird Scooter Not Turning On:
1. Check The Battery:
Your electric scooter’s battery is a pivotal component, powering essential features such as the motor and lights. Maintaining the battery’s health is crucial for a smooth and safe riding experience. Here’s a comprehensive guide on how to check and care for your electric scooter battery.
Visual Inspection: Commence by visually inspecting the battery. Ensure it’s free from visible damage like cracks, leaks, or swelling, as these signs indicate the need for battery replacement or professional attention.
Checking the Charge: To determine the battery charge, you can either:
a) Utilize the scooter’s built-in charge indicator, typically displaying battery life as a percentage or LED lights. Refer to your scooter’s manual to understand the indicator’s functionality.
b) Alternatively, use a multimeter for a more precise voltage reading. Follow these steps:
i) Turn off the scooter and detach the battery following the user manual’s instructions.
ii) Set the multimeter to DC voltage mode, indicated by a V symbol with a straight line above a dashed line.
iii) Connect the multimeter’s red probe to the battery’s positive terminal and the black probe to the negative terminal.
iv) Compare the multimeter’s reading to the battery’s rated voltage (found on the battery or manual) to check if it’s within the normal range.
Assessing Battery Health: Monitor your scooter’s range, charging time, and overall performance over time to assess the battery’s health. If you observe significant declines or increased charging times, consider replacing the battery.
Maintain Proper Charging Habits: Follow these practices to extend your battery’s lifespan and ensure consistent performance:
a) Regularly charge the battery and avoid letting it deplete completely before charging.
b) Avoid storing your scooter with a fully depleted battery, as it may cause permanent damage.
c) Prevent overcharging, as it can shorten the battery’s lifespan and reduce performance.
By adhering to these guidelines, you’ll not only effectively check your electric scooter battery but also contribute to its long-term performance and health, ensuring enjoyable rides for years to come.
2. Check The Controller:
When an electric scooter begins to exhibit operational issues, the controller, a crucial component overseeing acceleration, braking, and overall functioning, may be a potential culprit. While testing the controller might seem technical, you can diagnose problems with a few tools and some patience.
Before you commence, ensure you have necessary safety gear, including gloves and eye protection. Disconnect the electric scooter from any power source, and ensure the environment is dry and well-lit for safety precautions.
Step 1: Visual Inspection Initiate with a visual examination of the controller. Look for apparent damage such as burned components, corrosion, or loose connections. Check for frayed wires or melted insulation that might indicate a short circuit.
Step 2: Check for Error Codes Some electric scooter models display error codes. Refer to your owner’s manual for a list of error codes and their meanings, aiding in quickly identifying the specific issue.
Step 3: Voltage Testing Utilize a multimeter to test the voltage across the battery terminals with the scooter off. Compare findings with specifications in the manual. Lower than expected voltage could point to a battery issue rather than a controller problem.
Step 4: Continuity Tests Conduct continuity tests on the controller’s circuits. Set the multimeter to continuity and test each circuit by attaching the leads to corresponding terminals. Lack of continuity may suggest a broken circuit within the controller.
Step 5: Input and Output Tests Ensure correct connections of the throttle, brake levers, and other inputs to the controller. Use a multimeter to confirm that when engaged, these components send the correct signal to the controller.
Step 6: Motor Interface Check Test connections between the controller and the motor, ensuring continuity and voltage transmission to the motor when the scooter is activated.
If irregularities surface during testing, consulting a professional or considering controller replacement may be necessary. Handling electrical components carries risks, and seeking specialist assistance, especially for high-powered models, is a sensible choice.
3. Other Causes: (When won’t turn on while plugged in)
1. Wiring Damage: Water damage to the wiring can result in electrical malfunctions. Examine the wiring for loose connections or damaged components. Use a multimeter to check the fuse or circuit breaker and replace any faulty wiring. Online tutorials or professional technicians can assist with repairs.
2. Battery Damage: Water exposure can harm the battery, causing malfunctions. Check the battery charger port, test the battery’s voltage, and ensure the charging port functions correctly. Replace the battery if necessary, adhering to proper disposal procedures.
4. Motor Damage: Inspect the motor for visible signs of water damage, such as rust or corrosion. If damaged, seek professional assistance for a replacement.
5. Throttle Issues: A faulty throttle can prevent the scooter from turning on. Test the throttle, inspect wiring connections, and replace the throttle if needed. Properly resetting the throttle position is crucial.
Conclusion:
To troubleshoot a Bird scooter that won’t turn on, focus on key components like the battery and controller. Check the battery visually and with a multimeter, monitoring its health over time. Examine the controller for damage, error codes, and conduct voltage tests. Consider other causes like wiring or motor damage and address issues promptly. Seeking professional assistance is advisable for a thorough diagnosis, ensuring a smooth and safe riding experience.


